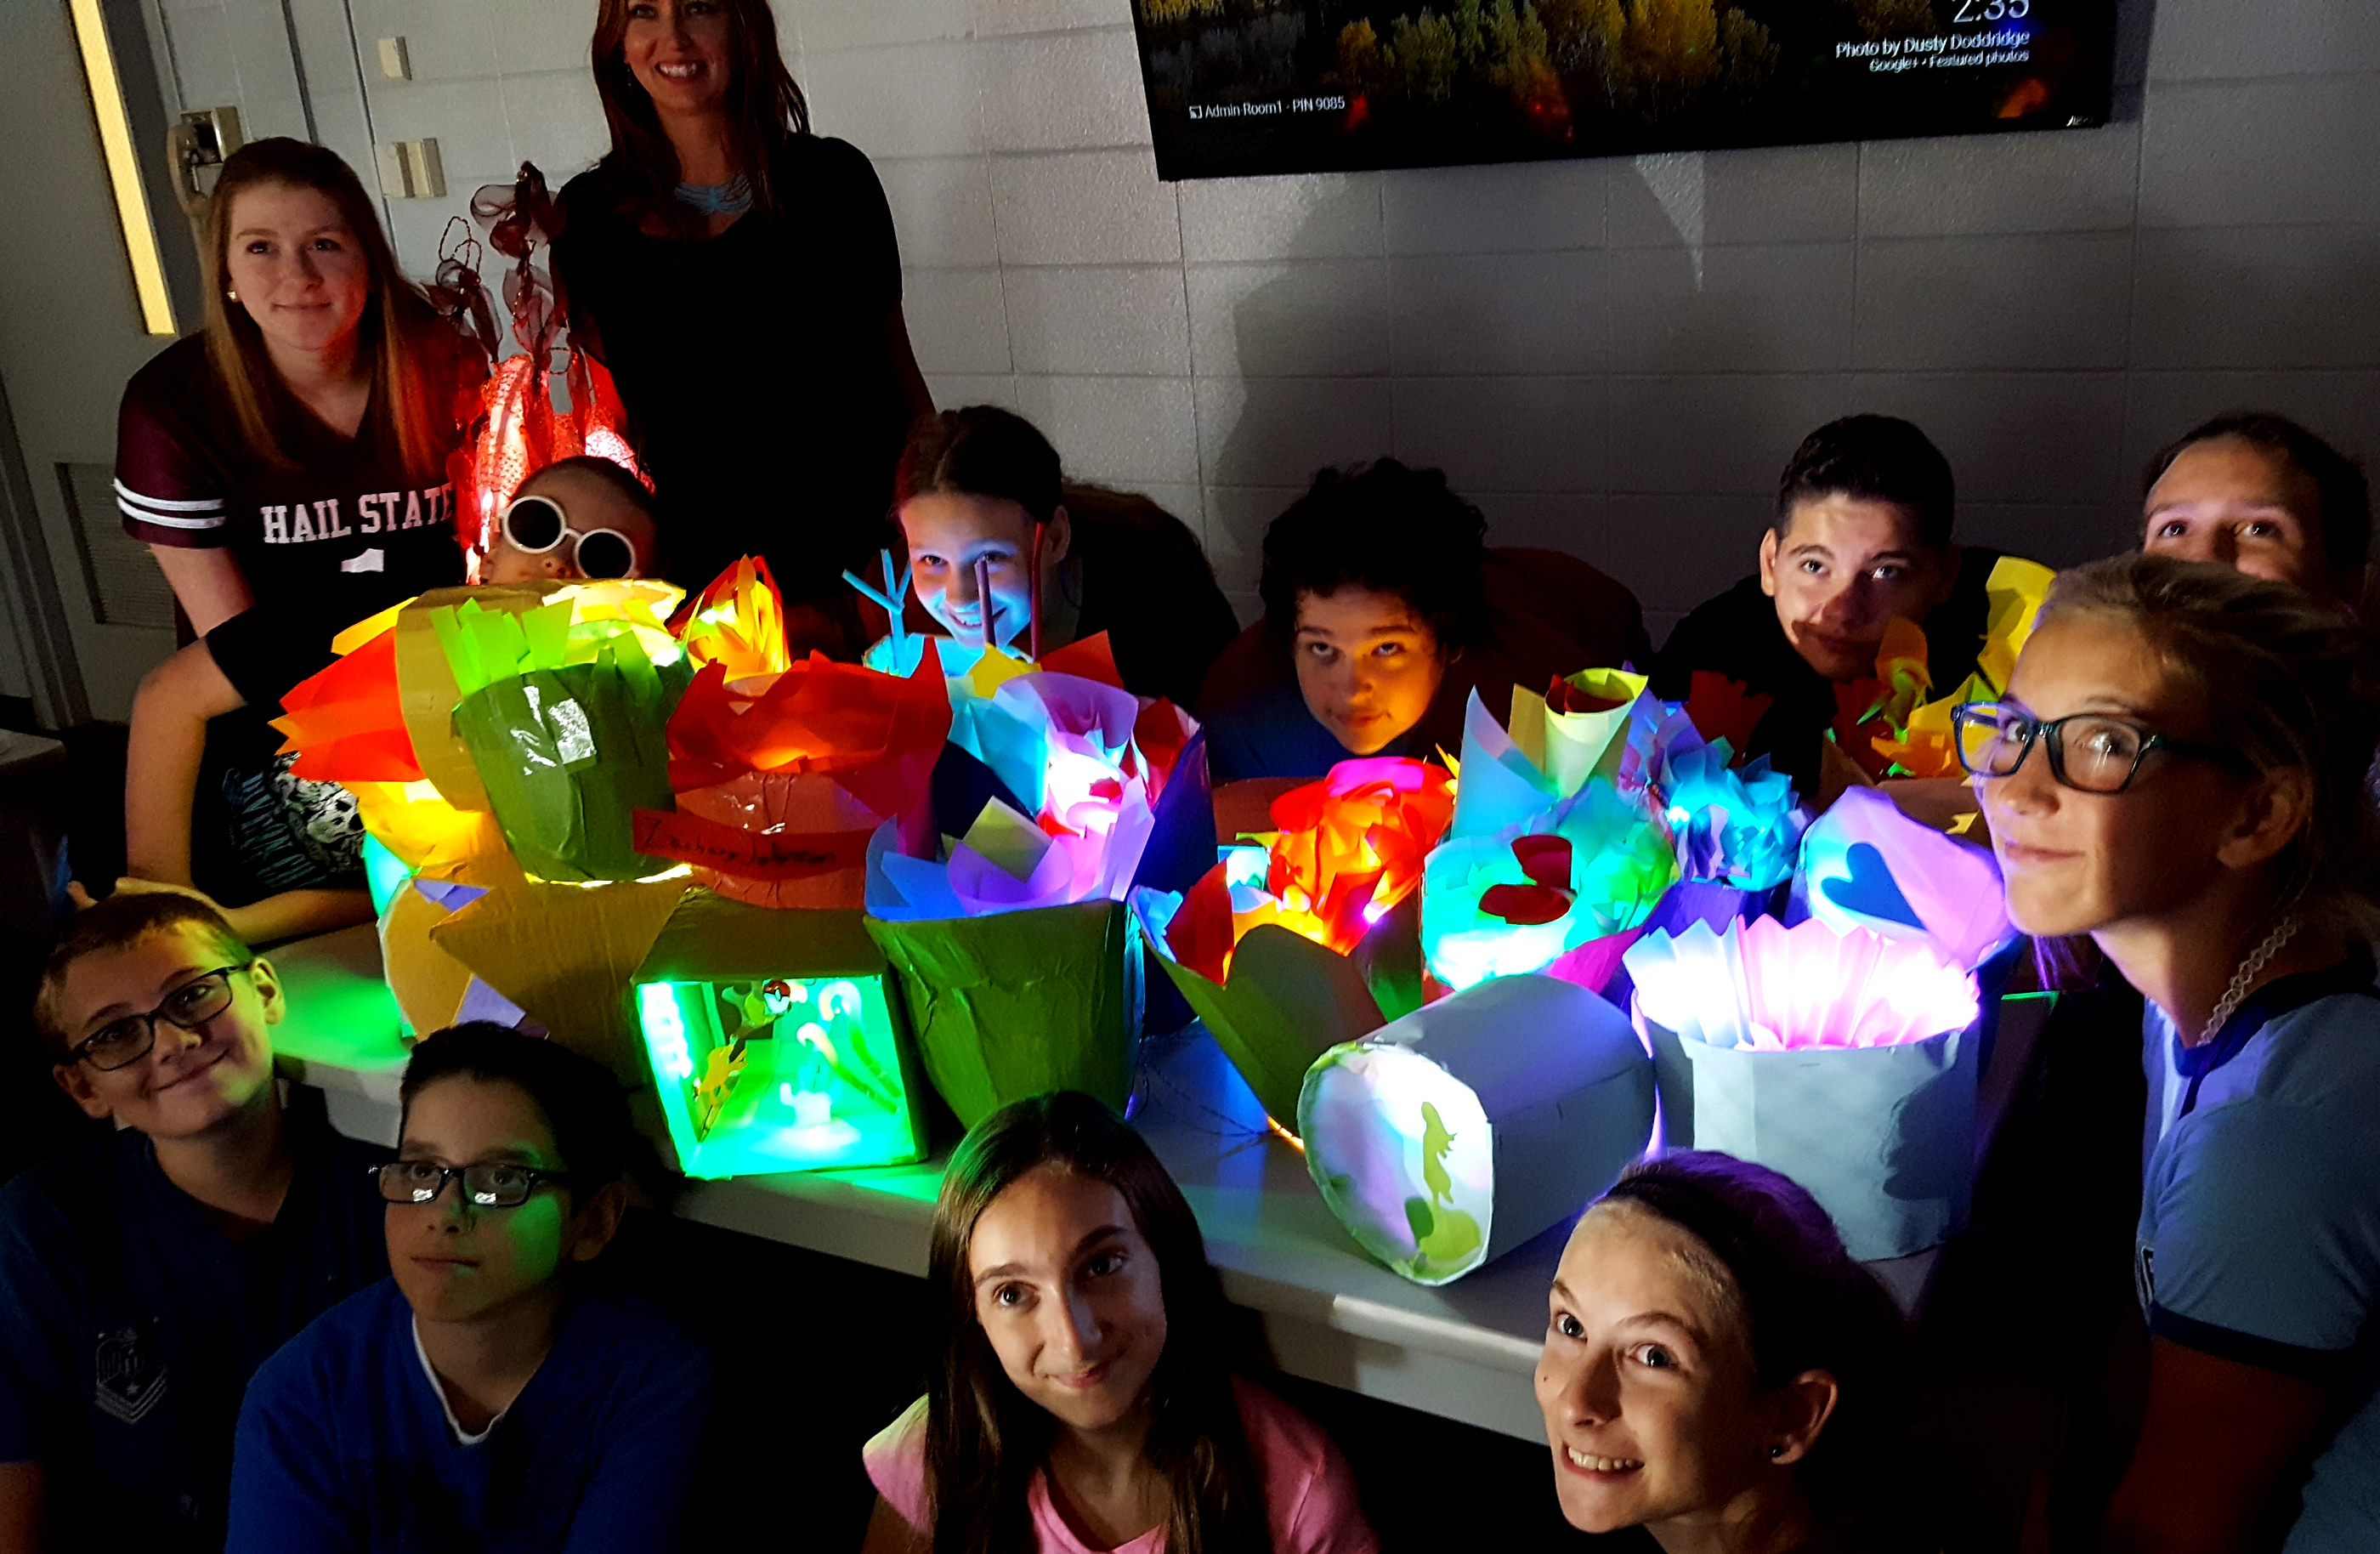
Gathered around the creations!
We had a fun time with twenty or so students on the first day of school, August 16, 2016.
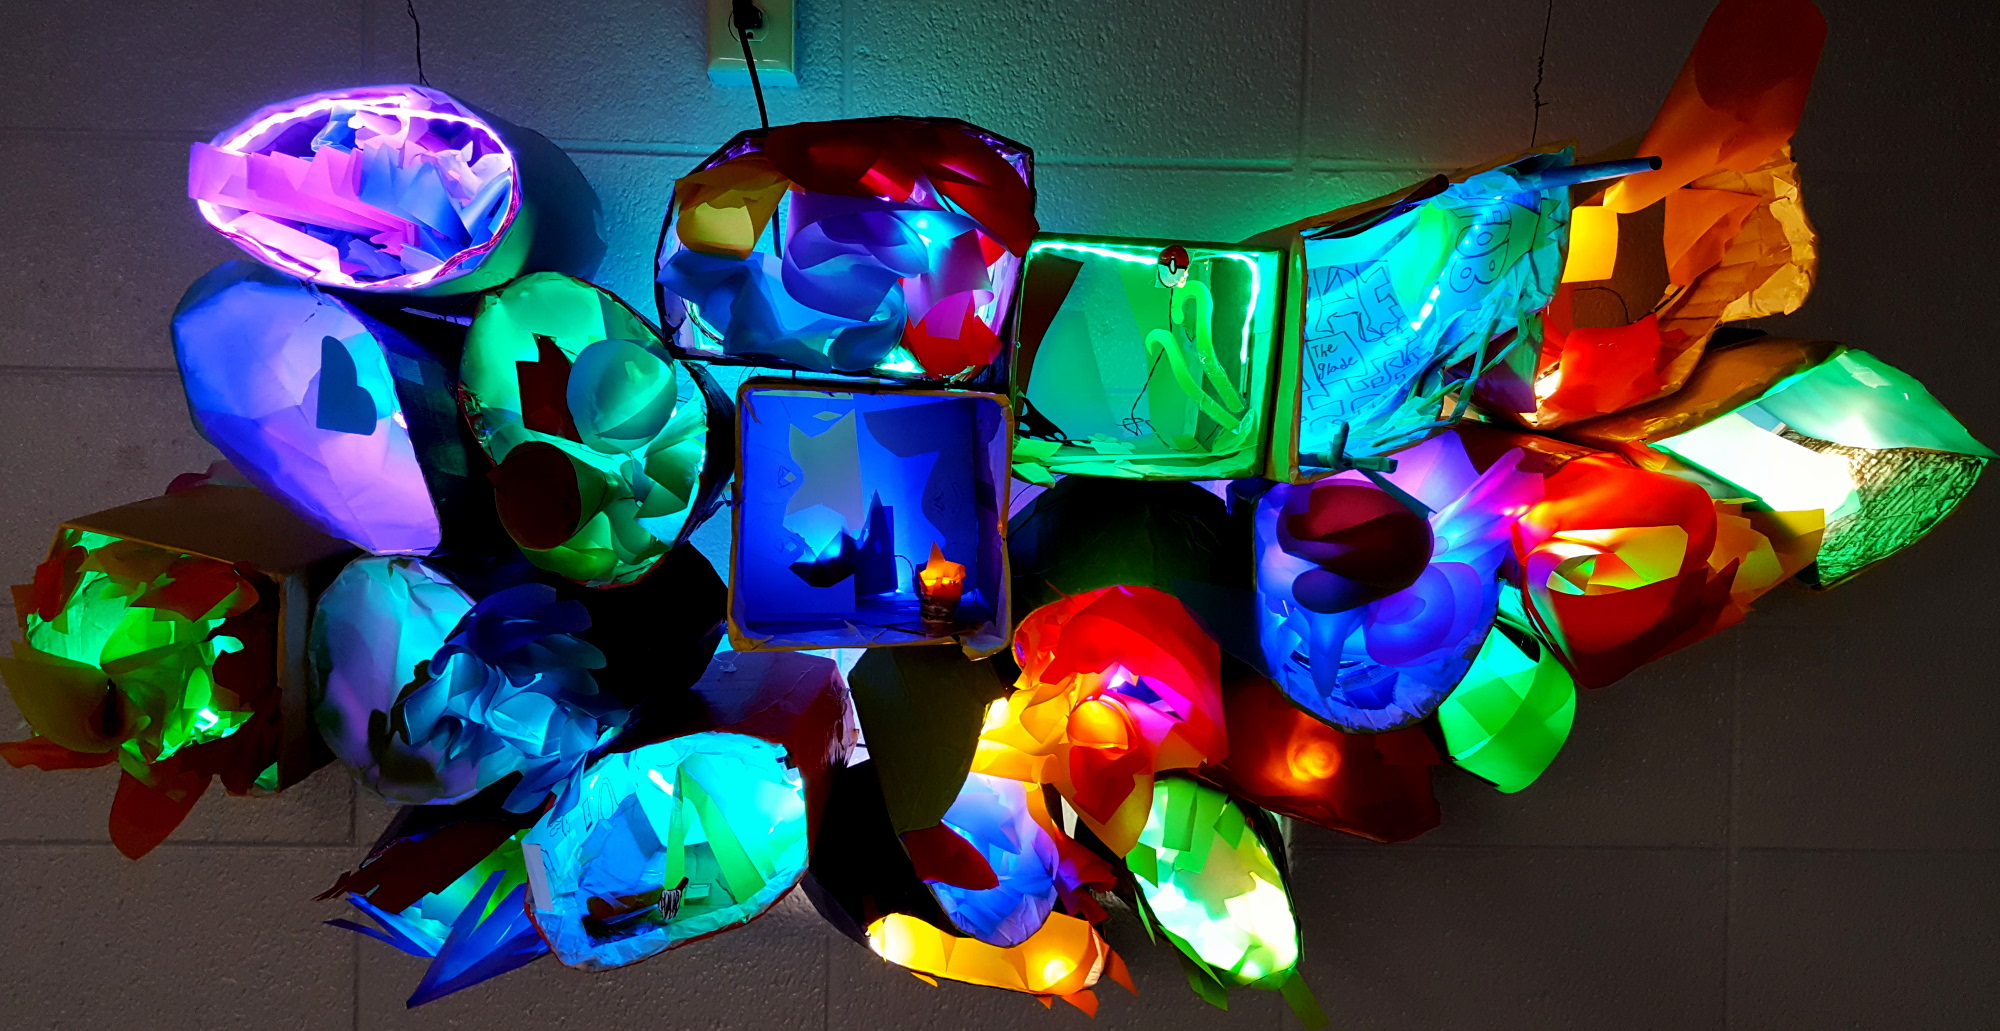
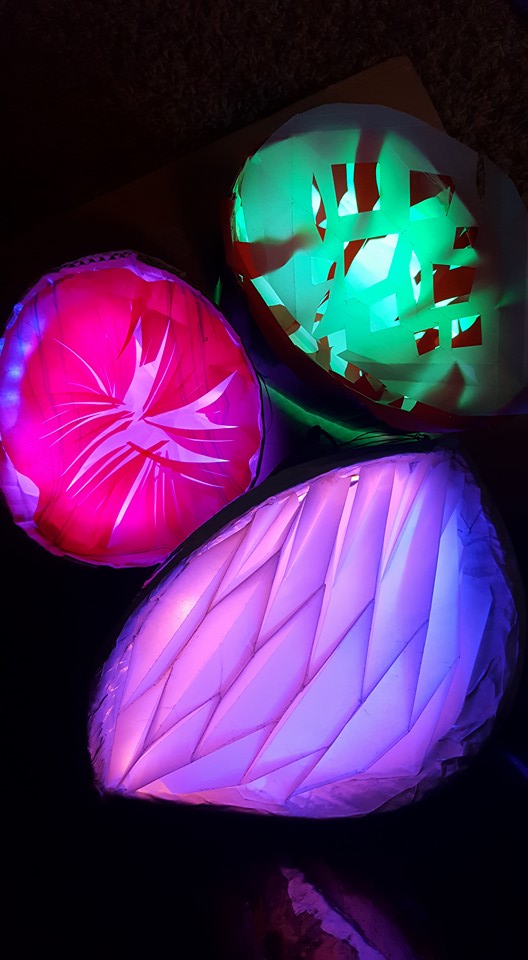
The assignment was to make illuminated pods,
and use colored vellum, LEDs and our imaginations to make little worlds in the boxes. We loved the results!
We are making this web page to keep notes on the process so you can have the
information to do these projects on your own.
The LEDs
You all seemed to enjoy playing with the LEDs, which makes us happy,
because we love playing with them ourselves!
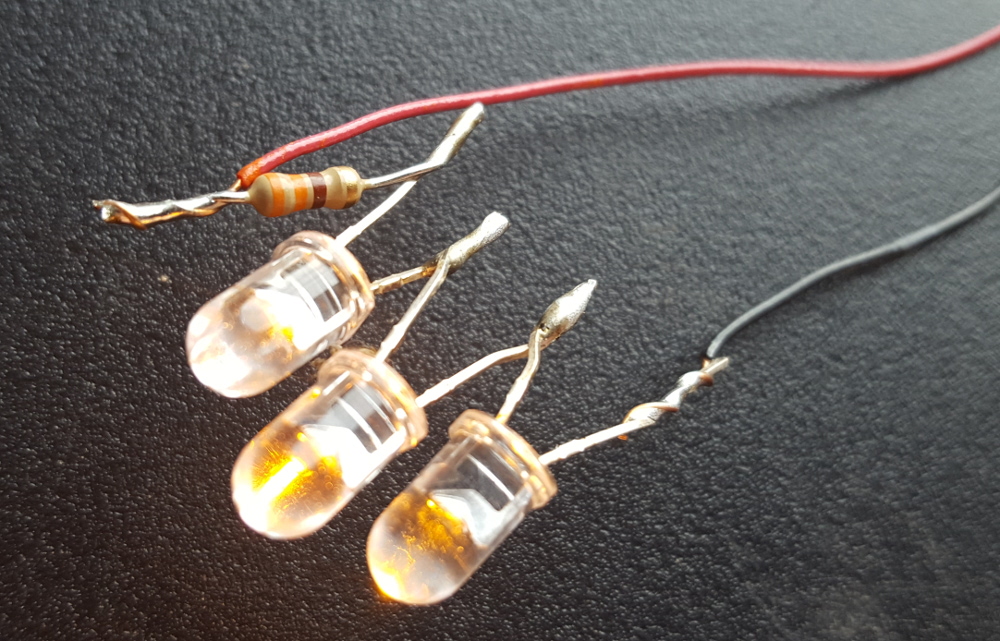
A group of LEDs connected up and soldered for 12 volts.
The small brown cylinder with the colored stripes is a resistor.
An LED is not naturally equipped to use 12 volts, it wants more like 2 or 3 volts.
If you hooked a single LED up to 12 volts, it would fry instantly.
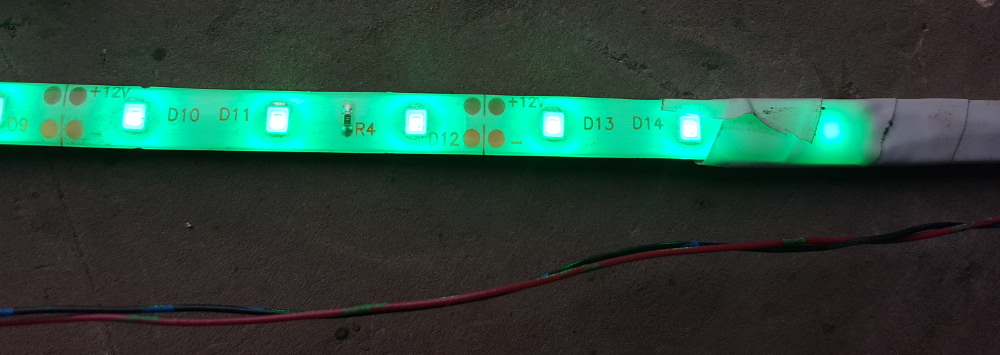
All the LEDs that you used in the workshop were set up for 12 volts,
which is done by connecting them in groups of 3 with a small device called a resistor
that limits the flow of current through the LEDs to a healthy level.
The Power Source
We had three 12 volt batteries on the table at the workshop for testing our LED projects.
Here they are recharging from the sun after the workout you gave them.
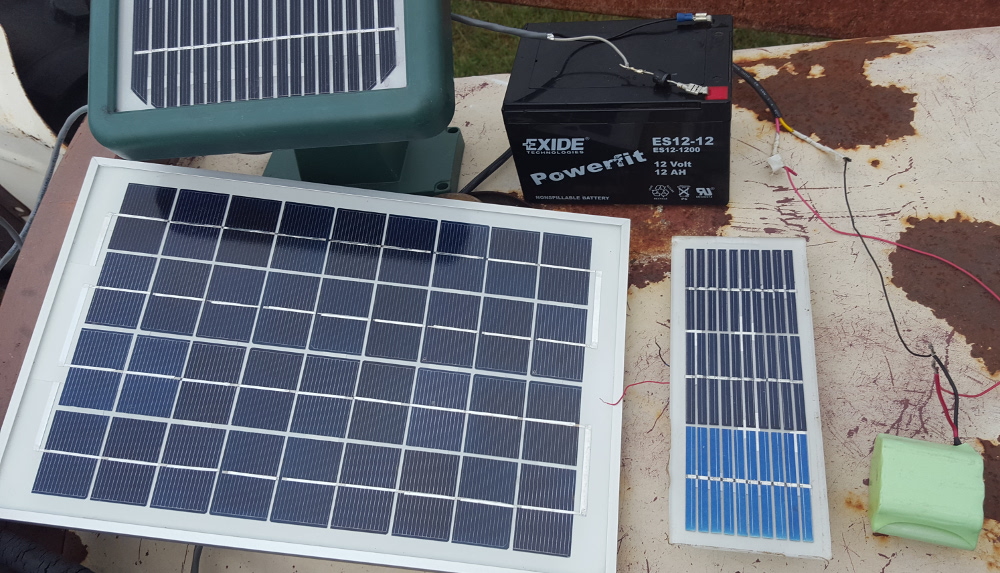
The long rectangular solar panel has some rechargeable batteries attached to its underside.
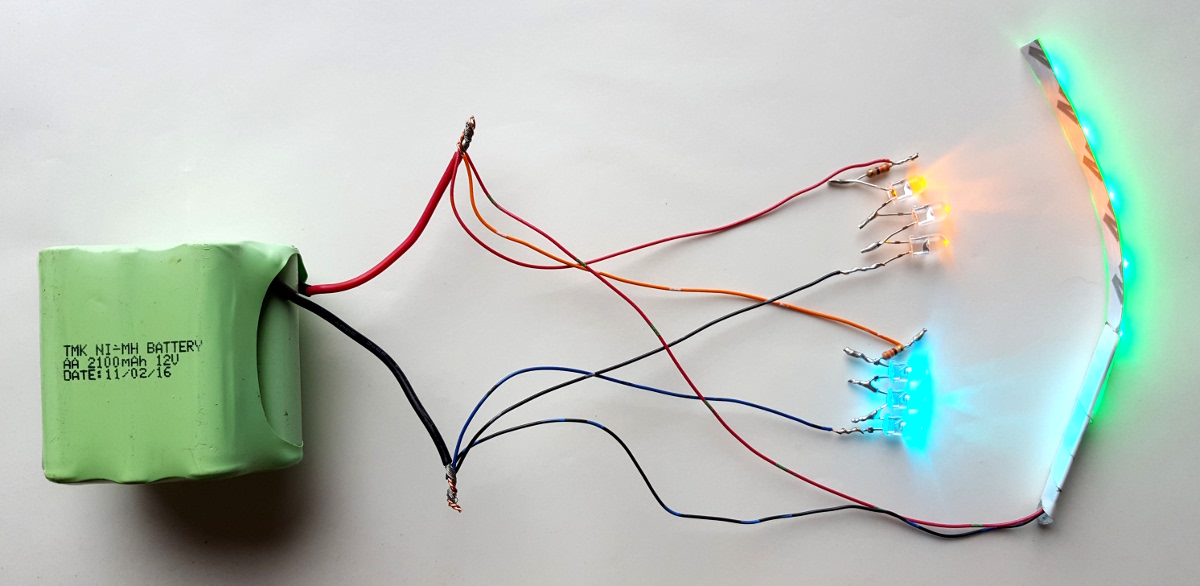
Here is a 12 volt battery connected to 3 groups of LEDs. A battery has a positive side (red wire)
and a negative side (black wire). the "D" in LED stands for diode,
a device which only conducts electricity in one direction, which means the LED will only light
if you connect it up in the proper direction. Luckily for us, connecting them up backwards
doesn't hurt anything, just won't make light.
Other Power Sources
You can power your LEDs from other voltages, like a 3 volt battery pack,
but they would have to be wired accordingly.
We are using 12 volts here because it is a commonly used voltage.
When we wire these into installations, we use a power adapter.
Power adapters convert the high voltage AC in a house to a safe low voltage we can use.
You can probably find an unused one lying around or in a drawer to use for your own projects.
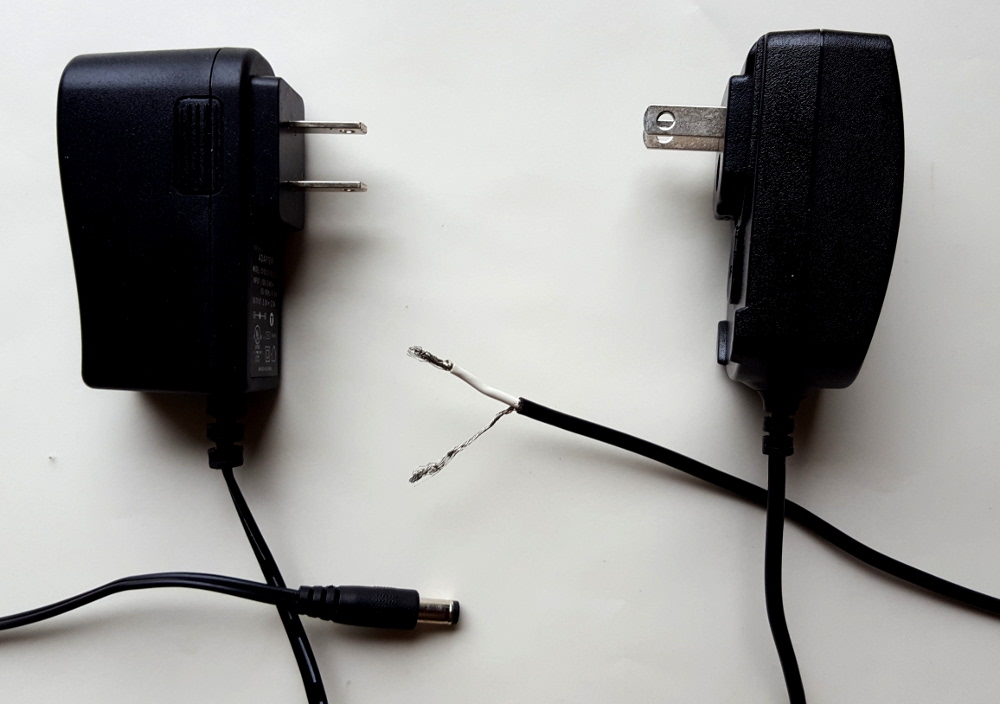
Power adapters. The one on the right has had its plug cut off
and the wires have been exposed. The white wire is the positive one,
and the wires around it are the negative. If you do this yourself,
just try to twist the outer wires all together as neatly as you can
In future classes, we will get deeper into electricity and electronics.
For now, the most important thing to know is that the device you are trying to power
and the power source have to be matched as close as you can to work properly.
Another important thing to know is that we were playing with LOW voltage,
which is safe and fun like a fuzzy kitten.
High voltage, like what is in your house must be treated with much more respect like a poisonous snake
or an angry raccoon.
The Pods
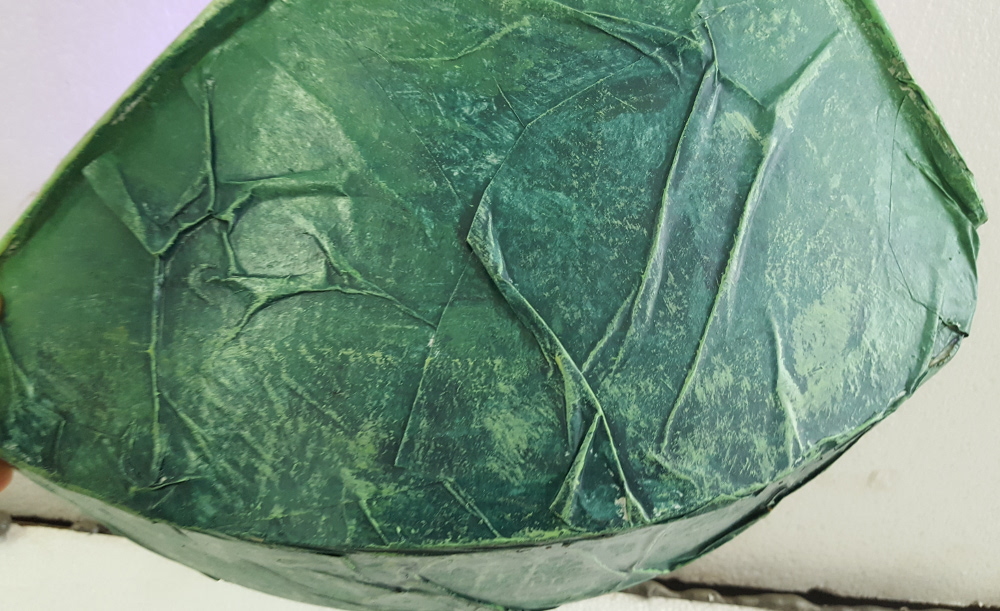
We made the pods beforehand to save time for the workshop. We cut shapes out of corrugated cardboard,
stapled them together, covered them with paper, and painted them. We mixed white glue (Elmer's)
with a little water, brushed it on and then applied the paper.
If you work at it by bunching up the paper a bit, you can make very nice wrinkles that look like skin or bark
or something natural.
The Vellum
We chose colored Vellum, which is like thick tracing paper, for this workshop
because it has beautiful translucence, is easy to work with, and is not too hard to find.
Vellum folds nicely and cuts easily, but most importantly, it glows beautifully when the LEDs illuminate it!
We used tape and staples to keep it in place.
The possibilities here really are endless! Much experimentation needs to be done.
With a little more time than we had for our little workshop, one could create very elaborate worlds
and flights of fancy in the space of a small illuminated box.